How to Take Before & After Photos for Spa Treatments
Knowing how to take before and after photos for spa treatments is essential for highlighting treatment results and building client trust. High-quality images serve as proof of the effectiveness of your services, showcase your expertise, and help future clients visualize what’s possible for them. However, achieving professional results takes more than simply snapping a picture.
Aesthetic Treatment Photo Tips
To capture before and after photos, you should ensure:
- Consistent lighting – Use consistent lighting conditions for both the before and after photos. Natural daylight is usually the best option, as it provides accurate colors and details. Avoid mixing different light sources or using harsh artificial lighting.
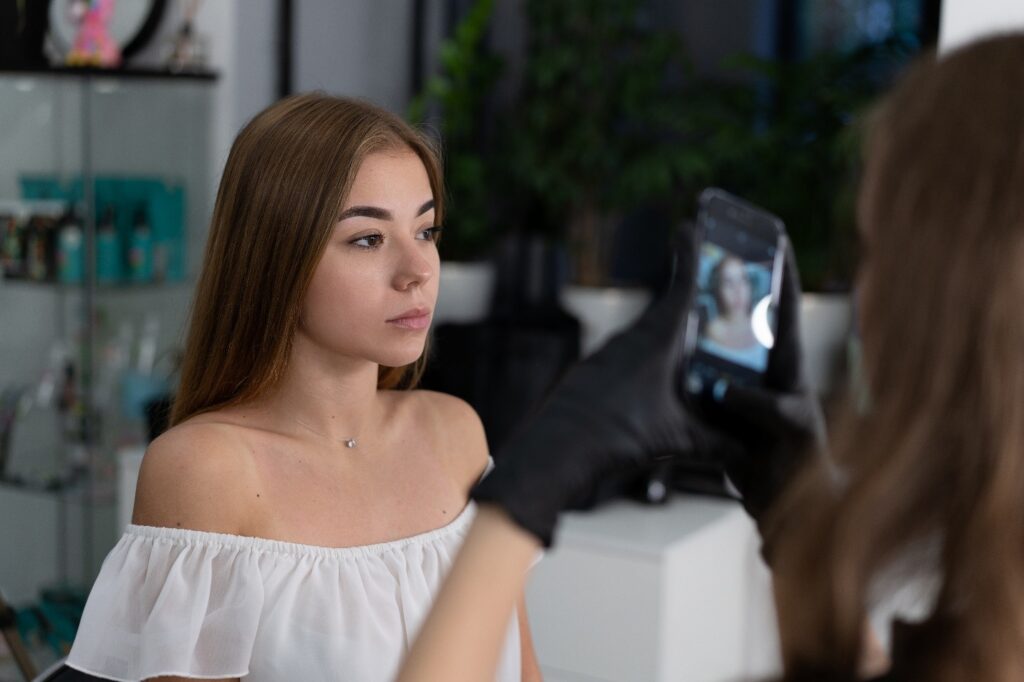
- Stable positioning – Keep your camera steady and use a tripod if possible. This helps maintain the same angle and composition for both the before and after shots, making it easier to compare the two images.
- Fixed framing – Frame the subject similarly in both photos to maintain consistency. This allows viewers to focus on the changes directly and avoids distractions. You can use markers or guidelines to help you position your subject accurately.
- Clear focus – Ensure your subject is in sharp focus in both the before and after images. This helps viewers see the details and improvements clearly. Use the autofocus function or manually adjust the focus to achieve clarity.
- Neutral background – Choose a background that doesn’t distract from the subject. A plain or simple background works best, as it keeps the focus on the changes being presented. Avoid cluttered or busy backgrounds that can take attention away from the main subject.
- Proper framing – Fill the frame with the subject appropriately, so the changes are easily noticeable. If you’re documenting physical transformations, consider including relevant body parts or specific areas in the frame to highlight the progress effectively.
- Consistent settings – Use consistent camera settings, such as aperture, shutter speed, and ISO, for both the before and after photos. This ensures that any differences in the images are due to the actual changes, rather than variations in camera settings.
- Multiple angle shots – Take multiple photos from different angles to provide a comprehensive view of the transformation or progress. This allows viewers to appreciate the changes from various perspectives.
- Naturalness – Aim to capture the subject in a natural and authentic way. Avoid excessive editing or retouching that may misrepresent the actual changes. Minor adjustments for exposure, color balance, and contrast are acceptable, but keep them minimal and true to the real transformation.
Remember, the primary goal is to accurately showcase the changes or progress made, so ensure your photos are as truthful and representative as possible.
Equipment for Documenting Cosmetic Results
The right equipment is vital for capturing before and after photos. Your investment in reliable tools will ensure consistent results and elevate the overall perception of your spa.
Cameras
While smartphone cameras have improved, professional-grade cameras still offer the best quality and consistency. Consider:
- DSLR or mirrorless cameras – Cameras allow for manual control of lighting, exposure, and focus.
- Fixed lenses – A 50mm prime lens is a popular choice for portraits. It minimizes distortion and produces natural-looking results that clients appreciate.
- Smartphones with pro features – High-end smartphones can deliver high-quality images if used properly. Pairing them with stabilizing gear and professional lighting improves results dramatically.
Lighting
Consistent lighting is one of the most important elements of any client photo protocol. Poor lighting can distort results or create misleading shadows. Recommended options include:
- LED ring lights – These lights create uniform, shadow-free illumination. They are especially effective for facial treatments where clarity is critical.
- Softbox lights – Softboxes diffuse light and mimic natural daylight. They reduce harsh shadows and produce flattering, balanced lighting.
- Adjustable light stands –Adjustable stands allow you to control brightness and direction. This flexibility ensures proper coverage for different treatment areas.
Backdrops
A plain white or light-gray backdrop keeps attention on the client and avoids distractions. Collapsible backdrops are portable and easy to store, while wall-mounted systems provide a permanent solution for a dedicated photo space. Consistent backgrounds strengthen professionalism and credibility.
Tripods & Mounts
A sturdy tripod ensures that the camera remains at the same height and angle for every session, eliminating inconsistencies caused by handheld shooting. Adjustable tripods are especially useful because they allow you to photograph both seated and standing clients with ease. For practices that prefer to use smartphones, a mount can lock the device in place.
Software & Editing Tools
Once your photos are taken, basic editing software helps ensure they look polished without altering results. Programs such as Adobe Lightroom or Capture One allow you to adjust brightness, contrast, and cropping to maintain clarity and consistency. These platforms are designed for subtle refinements that highlight treatment areas while preserving authenticity. Beyond editing, photo management systems provide a secure way to organize images, track client progress, and keep before and after comparisons easily accessible.
Treatments That Benefit from Before & After Photos
Before and after photos are valuable across nearly every area of aesthetics and can be used to showcase a wide variety of treatments. They are especially effective for facial procedures such as skin rejuvenation, acne reduction, wrinkle treatments, and dermabrasion, where subtle improvements can be clearly documented. Body-focused services like fat reduction, skin tightening, or laser hair removal also benefit from consistent photography, as visual evidence of progress helps clients see the changes over time. Even treatments such as tattoo removal, pigmentation correction, and vascular reduction gain credibility when supported by clear, consistent imagery.
Make the Most of a Professional Image Guide
Before and after photos are more than snapshots—they are one of the most valuable tools for documenting cosmetic results and building trust with clients. When executed well, these photos become a cornerstone of your business, helping you attract new clients, retain existing ones, and showcase the quality of your treatments with undeniable proof. To learn more about aesthetic equipment and how to improve client experience, contact ZianMed today.